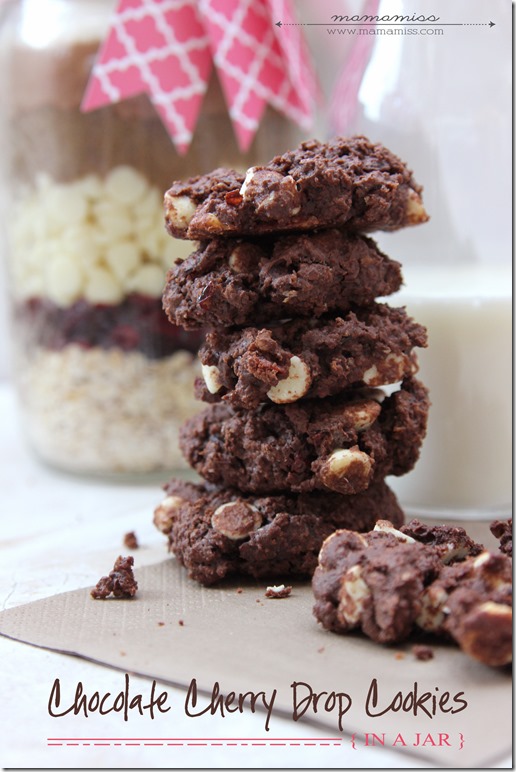
You never know how things are going to taste until you try them – am I right?! I always see all these pretty little jar gifts at farm stand stores & wonder…hmmm…what will it taste like?! I’ve never really actually bought one – I’m semi skeptical unless I’ve tried it before – but hey you never really know until you do. And really, what makes these cookies in a jar any different than the mixes you get on the grocery store shelves…probably nothing…if anything they are probably better & not loaded with tons of GMO’s.
Well, no worries with this recipe! These Chocolate Cherry Drop Cookies are one of four desserts I made at Thanksgiving & they were given a huge thumbs up! I thought Thanksgiving was the perfect time to test out as many recipes as possible – because why not – I had a troop of taste testers at my fingertips & you better believe I was going to take advantage of those tasters :) And I did!! Plus – I had a super fun & homemade gift for the hostess too! Bam & Bam!
So, I have for you a yummy recipe, these Chocolate Cherry Drop Cookies, and a way to turn that recipe into a simple gift (with free printable below) too!


This fun-to-make cookie jar gift of Chocolate Cherry Drop Cookies will get you in the DIY holiday gift-giving mood.
Ingredients
Instructions
- Combine flour, baking powder and salt into a small bowl; mix well & set aside.
- Starting in this order; Layer the oats, cherries, white chocolate chips, brown sugar, cocoa, sugar and finally the flour mixture, into a one quart jar with a tight-fitting lid (it will be a tight fit, so be sure to pack the ingredients down firmly after adding each layer, I used a large spoon).
- Seal the jar tightly, attach decorative accents & recipe.
- Store in a cool, dry place.
Notes
For baking instructions, see the attached printable tag.
And here are the supplies you’ll need to create this one-of-a-kind gift!
- one quart jar with a tight-fitting lid (I used a Wide Mouthed Quart Size Ball Jar
)
- Red/White Baker’s Twine
- 2-Point Flag Punch
- 1/8 Inch Circle Punch
- 1/2 Inch Mini Corner Punch
- White Cardstock
- tape flag red print & recipe printable {see below for download}
And the super simple instructions to make it!
- follow the jar recipe construction above.
- print out the printable on cardstock.
- punch out several 2-point flags using the red pattern paper end.
- punch out the top of each flag with the 1/8” circle punch.
- thread the twine through the flags and wrap around the top of the jar.
- cut out, and optional corner punch, the recipe card.
- with one of the ends of twine remaining, knot the recipe card onto the jar.

♥
Like what you see?!
You can connect with me on:
Pinterest|Facebook|Twitter|Google + too!
♥
© Mama Miss. All images & content are copyright protected.
Feel free to share one picture and linking directly to this post for download.
Please do not copy directions, ingredients, or pdf files for your own website or Facebook page.
Copying my post partially, or fully, is strictly prohibited.
All work by Mama Miss is licensed under Creative Commons Attribution-NonCommercial-NoDerivs 3.0 Unported License.
♥♥♥


Hi Melissa! Visiting from KBN! Gorgeous photos of what looks to be a fabulous cookie! I can’t wait to try these. It’s just the something new I’ve been looking for. Love your blog!
Thank you Michelle – delighted you are here & checked it out! :) xx